
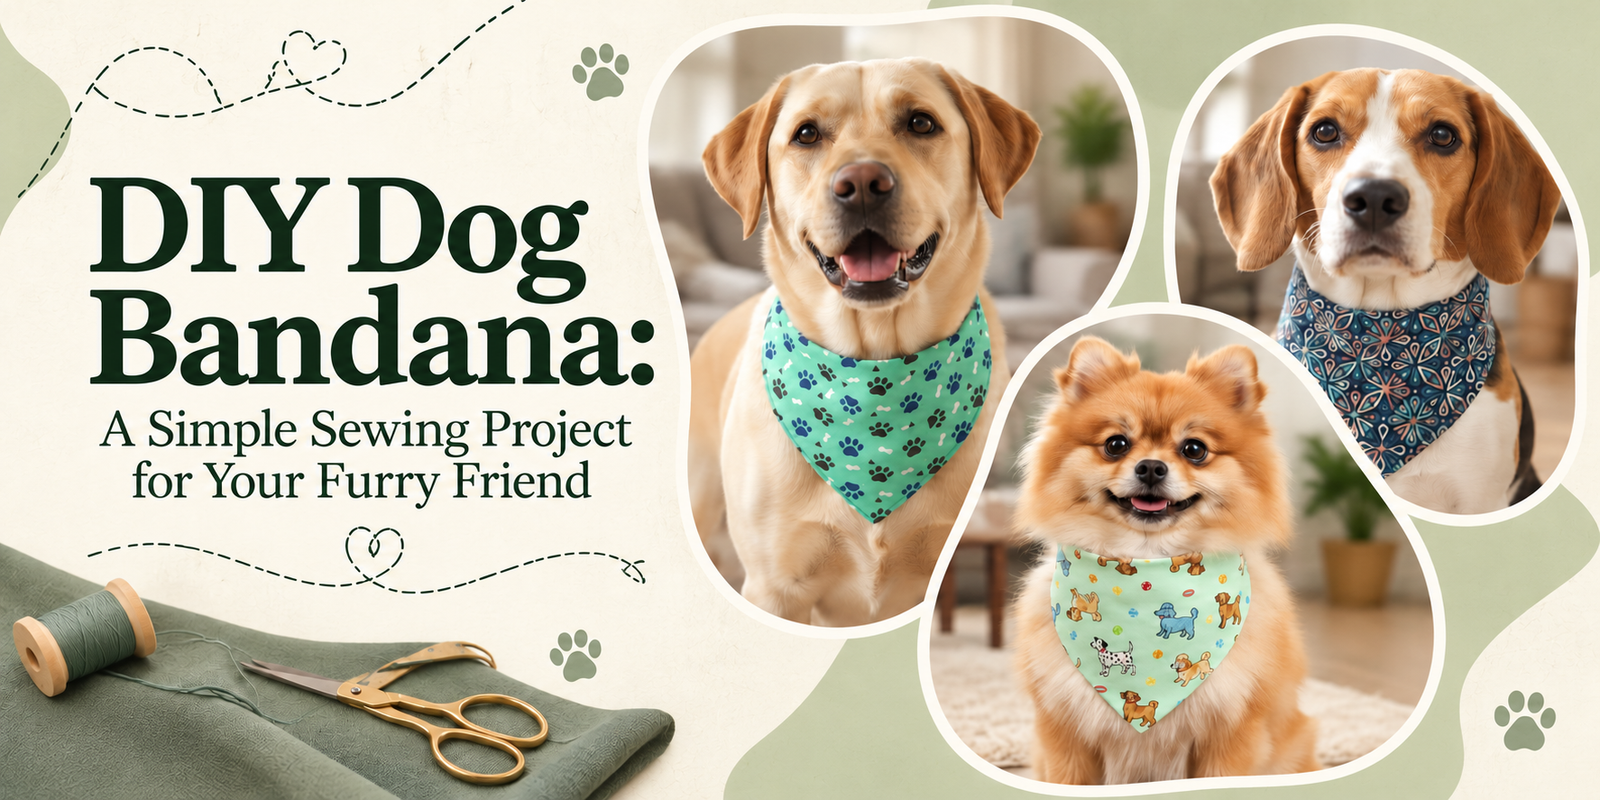
DIY Dog Bandana: A cheerful print, a little fabric, and a few simple seams can turn an ordinary accessory into something personal. A DIY dog bandana is a lovely first sewing project: small enough to feel manageable, practical enough to use, and full of opportunities to get creative.
Whether you are sewing for your own dog or making a thoughtful gift for a fellow pet lover, a beginner-friendly dog bandana sewing pattern gives you a useful starting point. You can practise basic sewing skills while creating an accessory for everyday walks, family photographs, or special celebrations.
Why Make a Dog Bandana at Home?
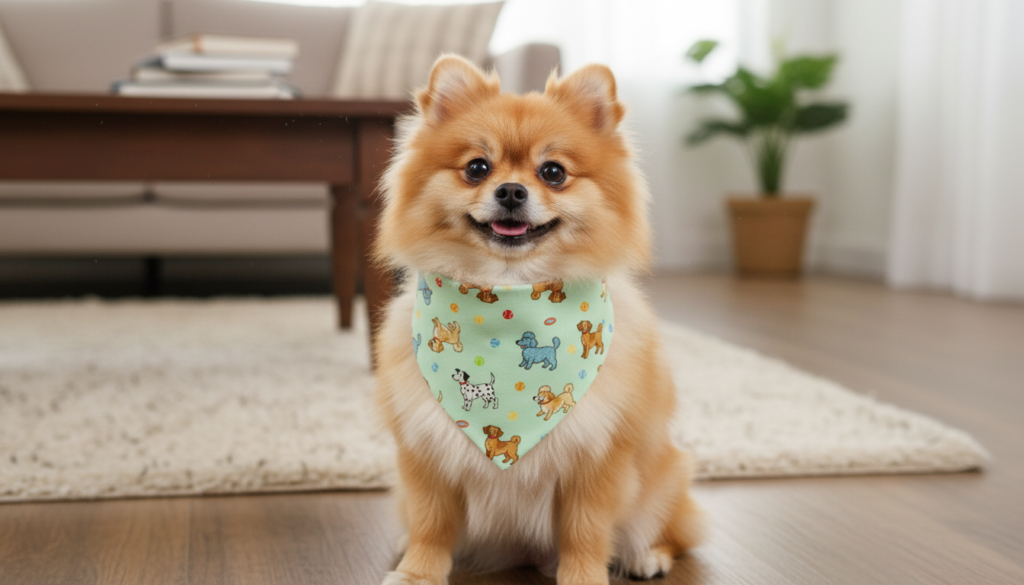
Making your own dog bandana lets you choose every detail, from the fabric print to the shape and fit. Instead of searching for an accessory that happens to suit your dog, you can create one around their personality.
Try bright checks for a playful look, soft florals for spring photographs, or a simple solid colour that coordinates with their collar. Seasonal fabrics are another fun option, helping your dog join in birthday celebrations or festive family pictures.
A bandana also uses relatively little fabric, making it a useful project for suitable leftovers from other sewing projects. If you have a favourite piece that is too small for clothing, it might be just right for a pet accessory.
For beginners, the small scale makes the project approachable. Measuring, cutting, sewing gentle angles, and pressing seams all provide useful practice without committing to a large item.
Choosing Fabric for Your DIY Dog Bandana
Start with a soft, lightweight fabric that feels comfortable against your dog’s coat and is easy to wash.
Lightweight woven cotton is a practical choice for a first project. It is generally straightforward to cut, press, and sew, and comes in plenty of colours and prints. Cotton lawn or a soft, lightweight cotton blend can also work well.
Consider how the finished fabric will feel once it is folded or lined. A fabric that seems light in a single layer may become bulky when doubled, especially on a small dog.
Avoid stiff, scratchy materials and fabrics with loose threads or easily detached decorations. Beads, dangling trims, and similar embellishments can also get in the way of comfortable wear.
Wash and dry your fabric according to its care instructions before cutting. This helps account for shrinkage and gives you a better idea of how the finished bandana will behave after laundering.
Finding the Right Dog Bandana Sewing Pattern and Size
A dog bandana sewing pattern should provide clear sizing guidance, seam allowances, and details about the fastening method. Check whether seam allowances are already included before cutting your fabric.
Choose the size using your dog’s actual measurements rather than their breed alone. Dogs of the same breed can have different neck sizes and body proportions.
Measure around the area where the bandana will sit, keeping the tape comfortably against the coat without pulling it tight. Compare that measurement with the pattern’s sizing chart and its instructions for wearing ease.
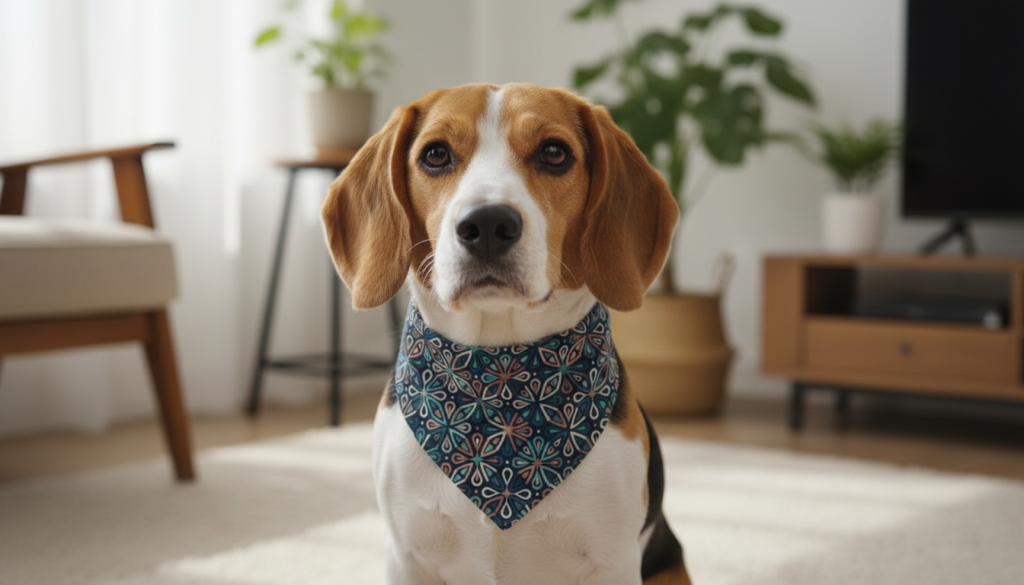
The triangle should also suit your dog’s chest. A long point may look attractive in a photograph but become awkward if it catches under their paws or interferes with movement. A paper mock-up can help you judge the shape and length before cutting your chosen fabric.
The Practical Benefits of an Elasticated Back Strap
An elasticated back strap can give a bandana a tidy finish without a large knot behind the neck. When correctly sized, it provides a little flexibility as your dog moves.
A fabric-covered elastic strap can also coordinate with the front triangle, creating a neat, consistent appearance. It is particularly useful when you want the print to remain the main feature.
However, elastic should provide gentle flexibility rather than hold the bandana tightly in place. Its width, length, and stretch all affect the fit, so follow the pattern guidance and check the finished accessory on your dog.
An elasticated strap is not automatically a breakaway fastening. Choose a design suited to your dog and use the bandana under supervision.
A Brief Look at the Construction Process
Most DIY dog bandana projects begin with measuring your dog, choosing the appropriate pattern size, and preparing the fabric.
Depending on the design, the triangular front may have a neatly hemmed edge or two fabric layers sewn together. A lined version can hide the raw edges and offer the option of a contrasting reverse side.
For an elasticated design, the back strap is usually prepared separately before being attached to the bandana. The finishing stage involves pressing, closing any remaining opening, and checking that the seams and strap attachments are secure.
The exact method varies between patterns, so use your chosen pattern for the cutting layout, elastic measurements, and full sewing instructions.
Tips for a Comfortable Fit
A good fit allows your dog to move, rest, and turn their head comfortably. You should be able to slide two fingers beneath the neck section without forcing them, although this is only an initial check.
Watch your dog wearing the finished bandana. It should not pull tightly, slide into their mouth, or hang low enough to catch under their feet. Check that it does not interfere with their collar, harness, or lead attachment.
Keep the first fitting short, particularly if your dog is unfamiliar with accessories. If they repeatedly scratch at it, chew it, or seem uncomfortable, remove it and reassess the fit.
Use the bandana as a supervised accessory, and remove it before crate time, unsupervised play, or any activity where it could snag. Attach the lead to an appropriate collar or harness.
Small Details for a Neat Finish
Careful preparation often makes more difference than complicated sewing techniques.
- Cut accurately: Smooth, even pieces are easier to align and sew.
- Press as you go: Pressing helps seams lie flat and gives edges a cleaner appearance.
- Keep seam allowances consistent: Follow the pattern markings to maintain the intended shape and size.
- Reduce bulky corners: Trim seam allowances where the pattern directs, taking care to avoid the stitching.
- Secure strap attachments: Reinforce these areas as specified in the pattern.
- Remove loose threads: Inspect the finished bandana before your dog wears it.
If you plan to personalise the fabric with embroidery, keep the reverse smooth and avoid decorations that could irritate your dog or come loose.
Make Something That Suits Your Furry Friend
A DIY dog bandana is a satisfying way to combine simple sewing with a little personal style. You can coordinate it with a favourite walking outfit, choose a playful print for photographs, or make a small collection for different occasions.
Start with a straightforward dog bandana sewing pattern, soft washable fabric, and careful measurements. With a comfortable fit and a neat finish, your handmade accessory will be ready for your dog’s next supervised outing.
Conclusion
Creating a DIY dog bandana is a fun way to practise your sewing skills and make something personal for your furry friend. With soft, washable fabric, a suitable dog bandana sewing pattern, and a comfortable fit, you can create a charming accessory for walks, photographs, and special occasions.
Let Sewing Kit Bag inspire your next creative project. Choose a print you love, take your time with the finishing touches, and enjoy making a bandana that reflects your dog’s personality.